
GIS4Mobile App – User Guide
Learn how to use the GIS4Mobile app to collect, view and update geographic data in the field.
Getting Started
Download and install the GIS4Mobile app on your smartphone or tablet.
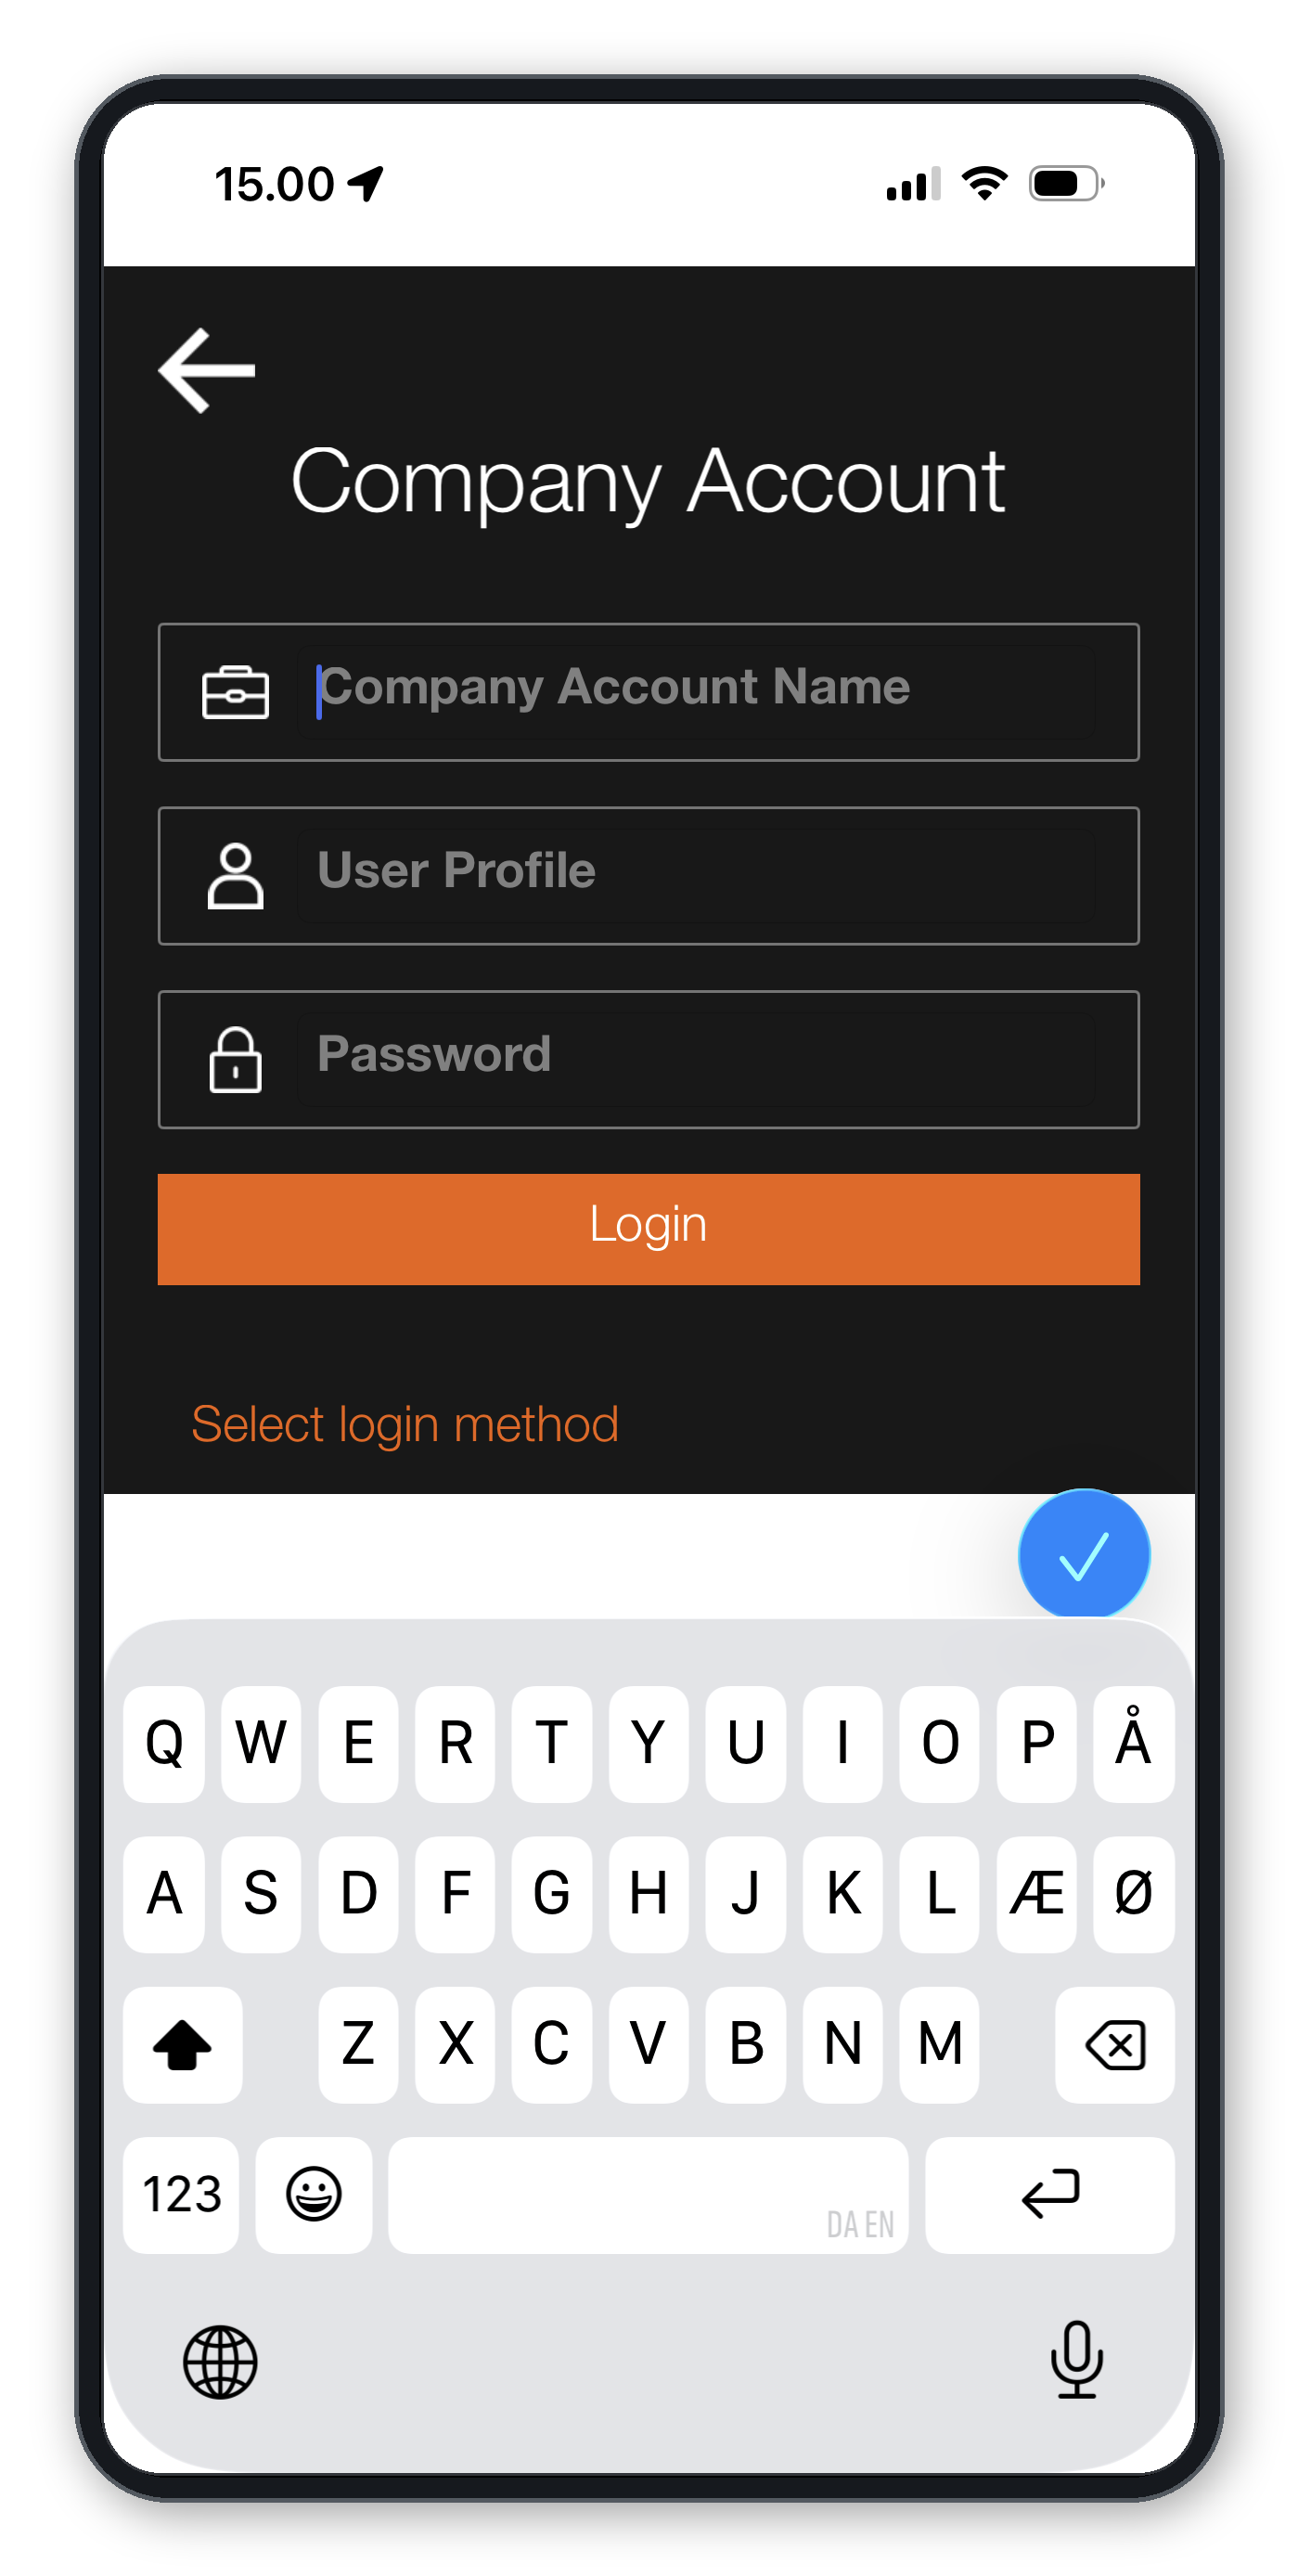
To access your organization's maps, data and registration forms, sign in with your Company Account Name, User Profile and Password.
Your User Profile determines which maps, data layers, registration forms and functions are available.
The Main Screen
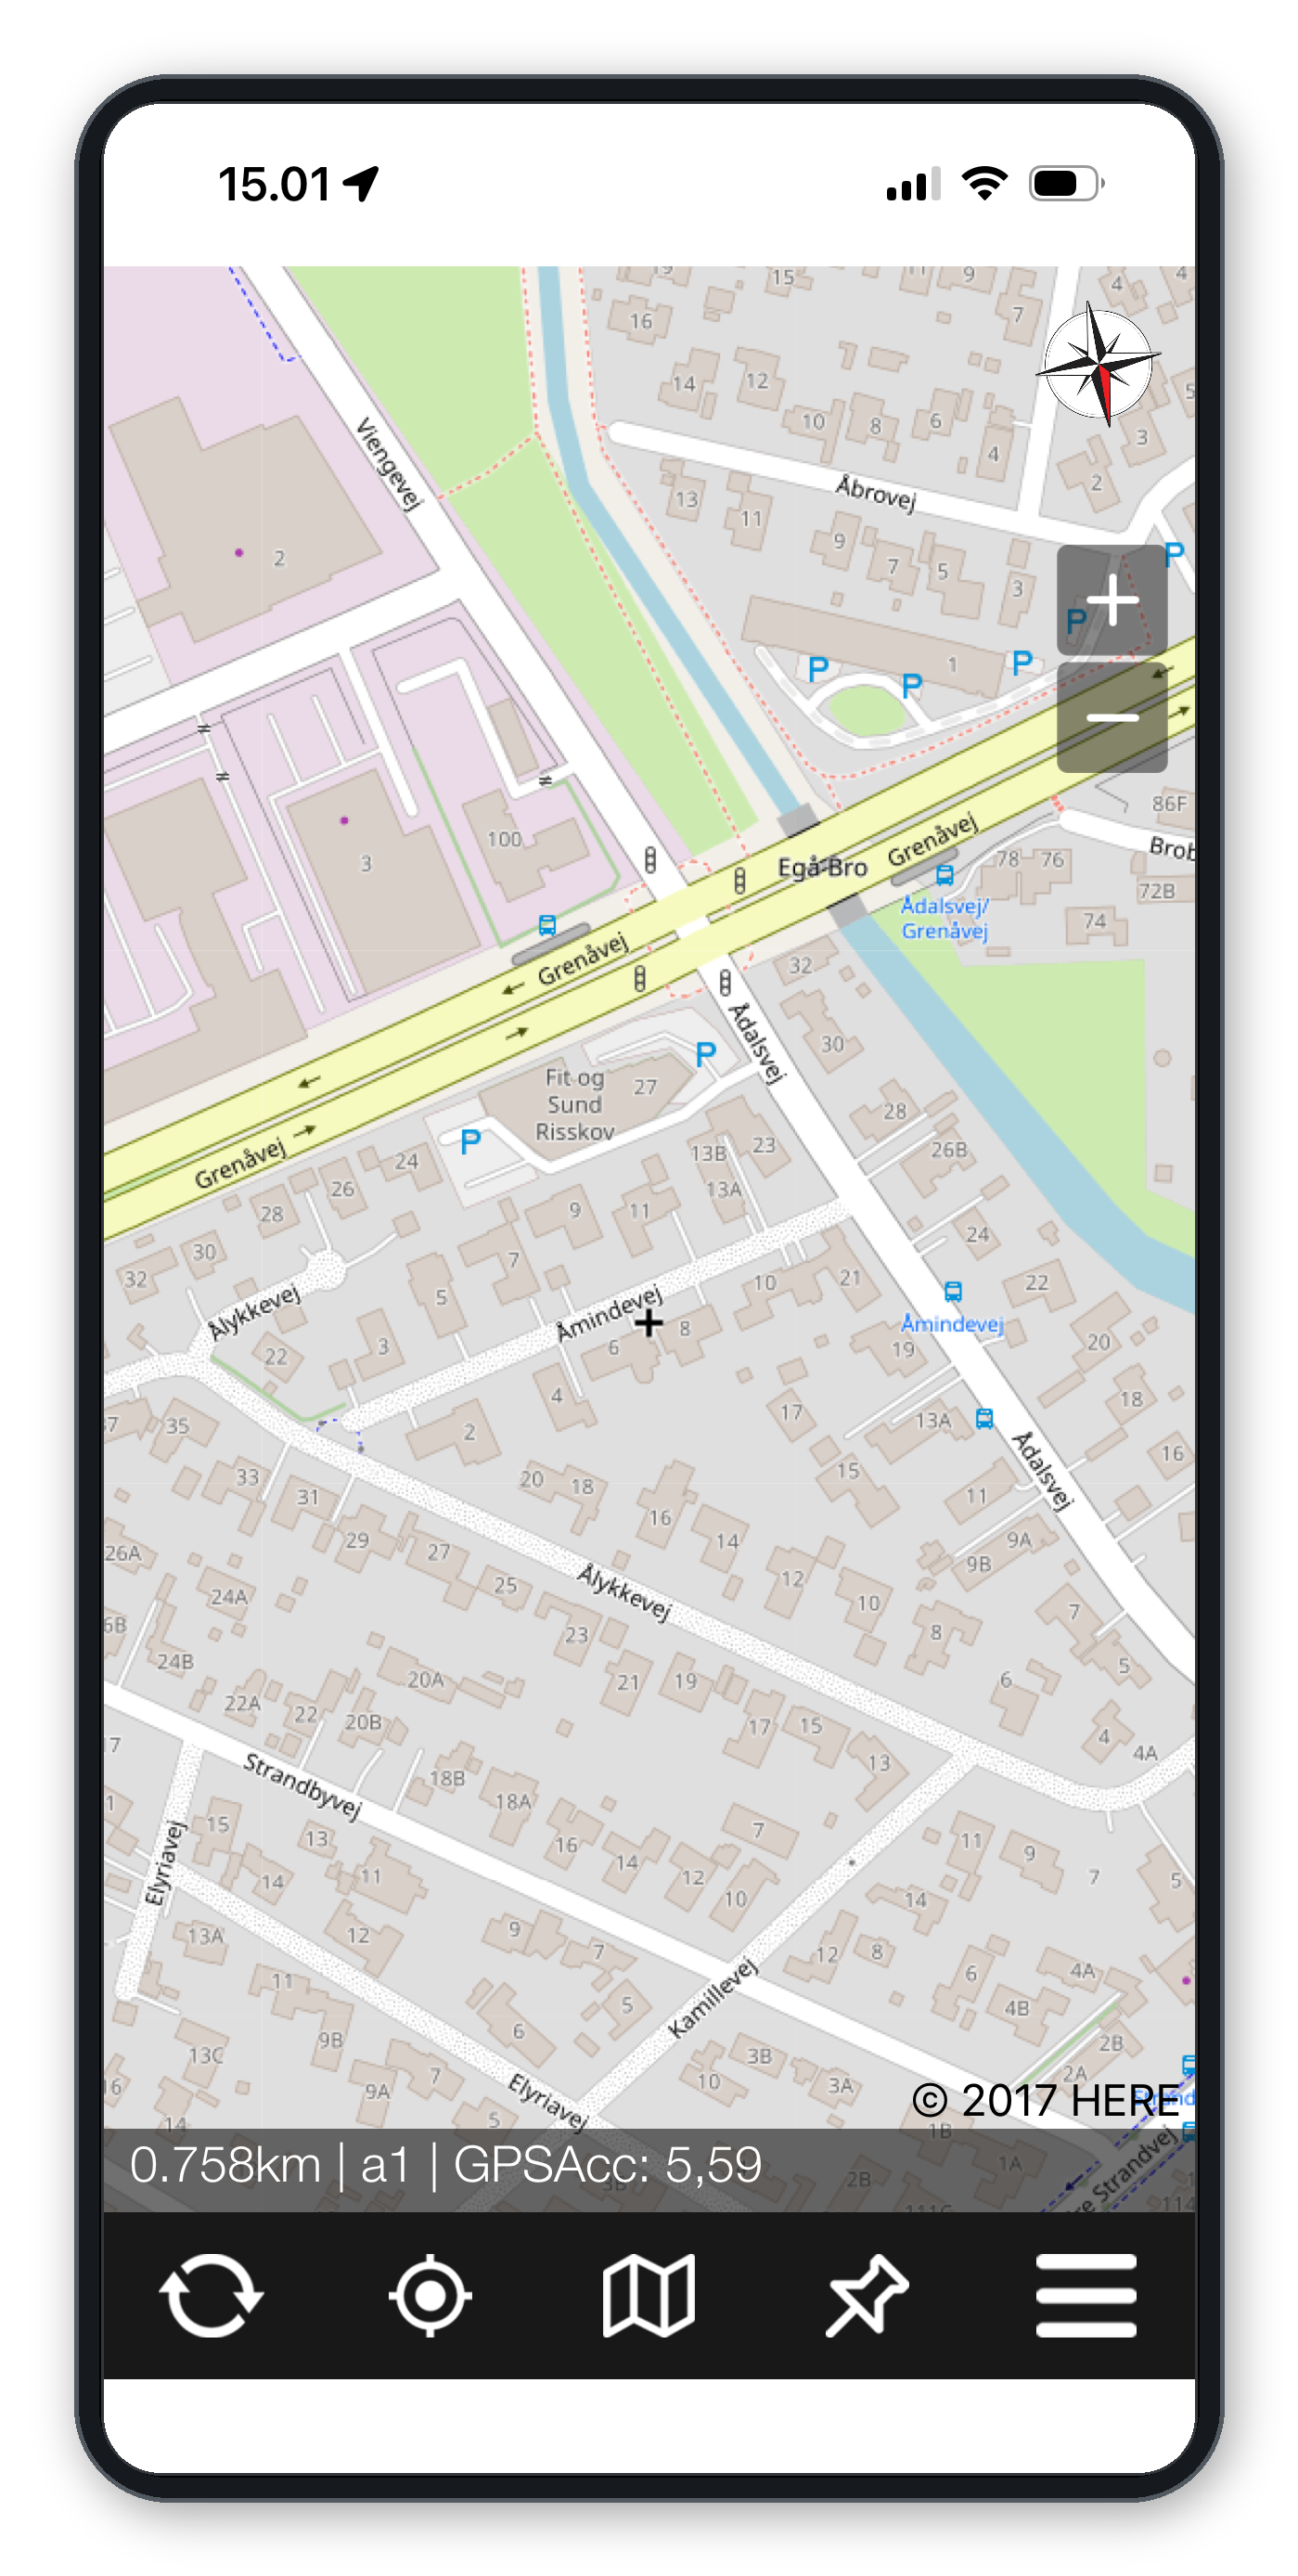
The GIS4Mobile app provides a map-based interface for working with geographic information.
The main functions include:
Synchronize Data – Upload collected data and retrieve updates.
GPS Position – Center the map on your current location.
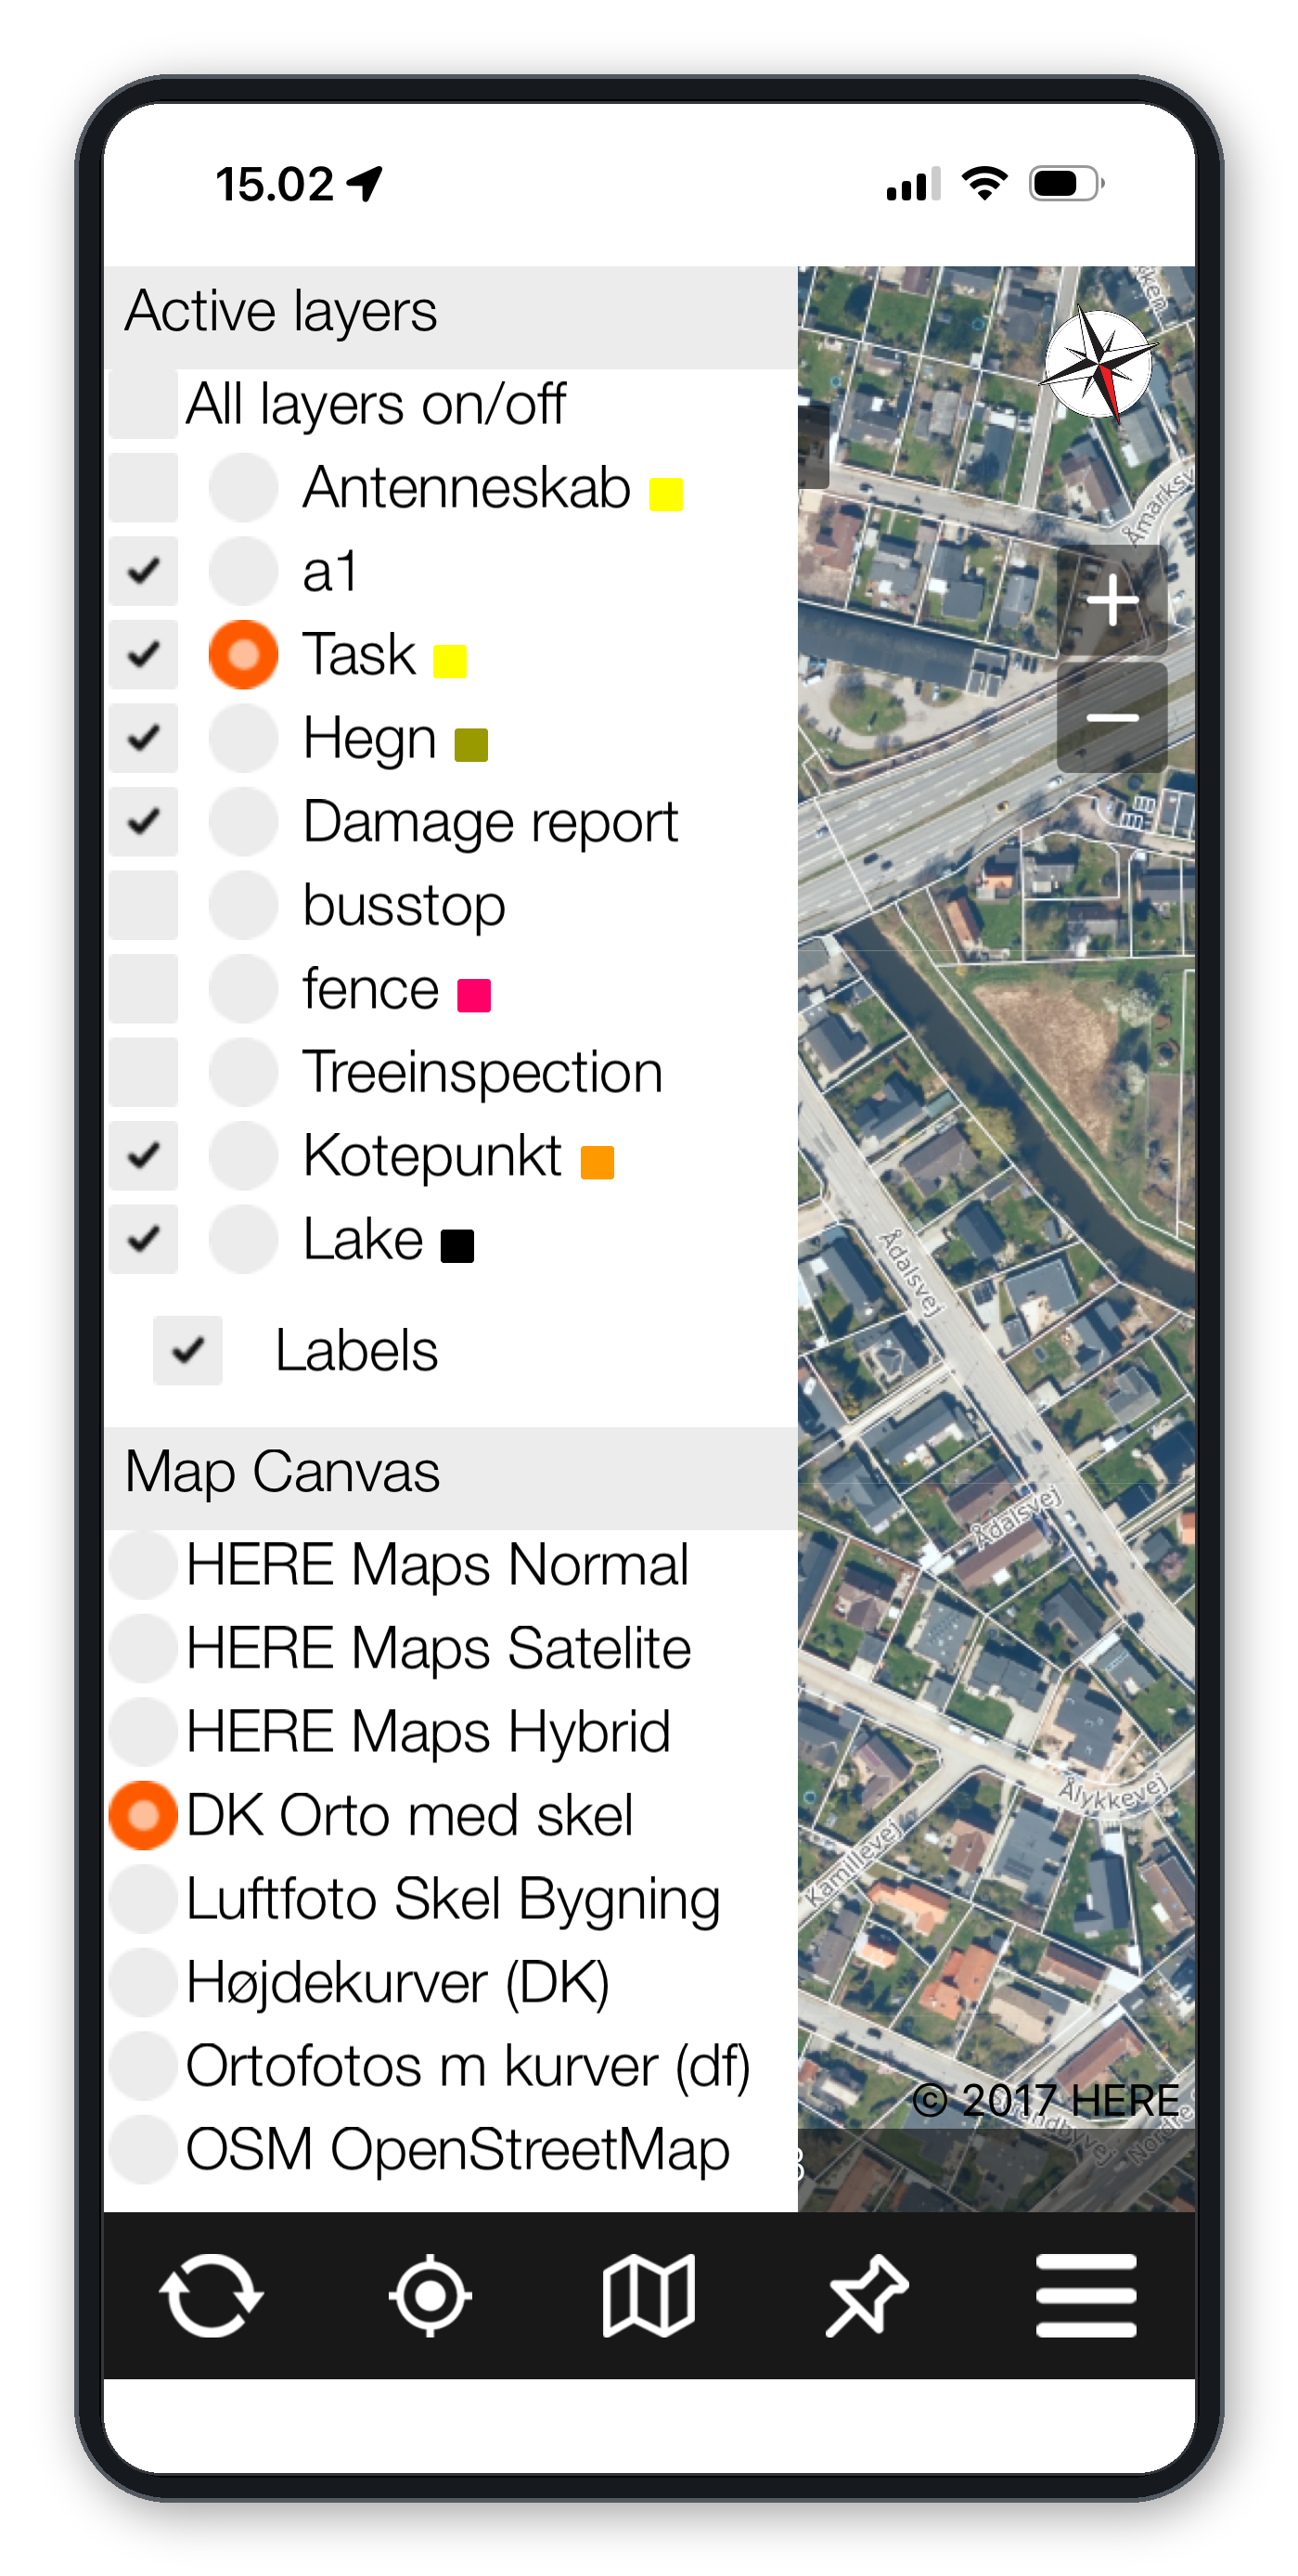
Maps and Layers – Select background maps and geographic data layers.
Data Registration – Create new registrations and attach information and photos.
Menu – Access settings and additional functions.
The status bar displays map information, including the current zoom level and active registration layer.
Registering Geographic Data
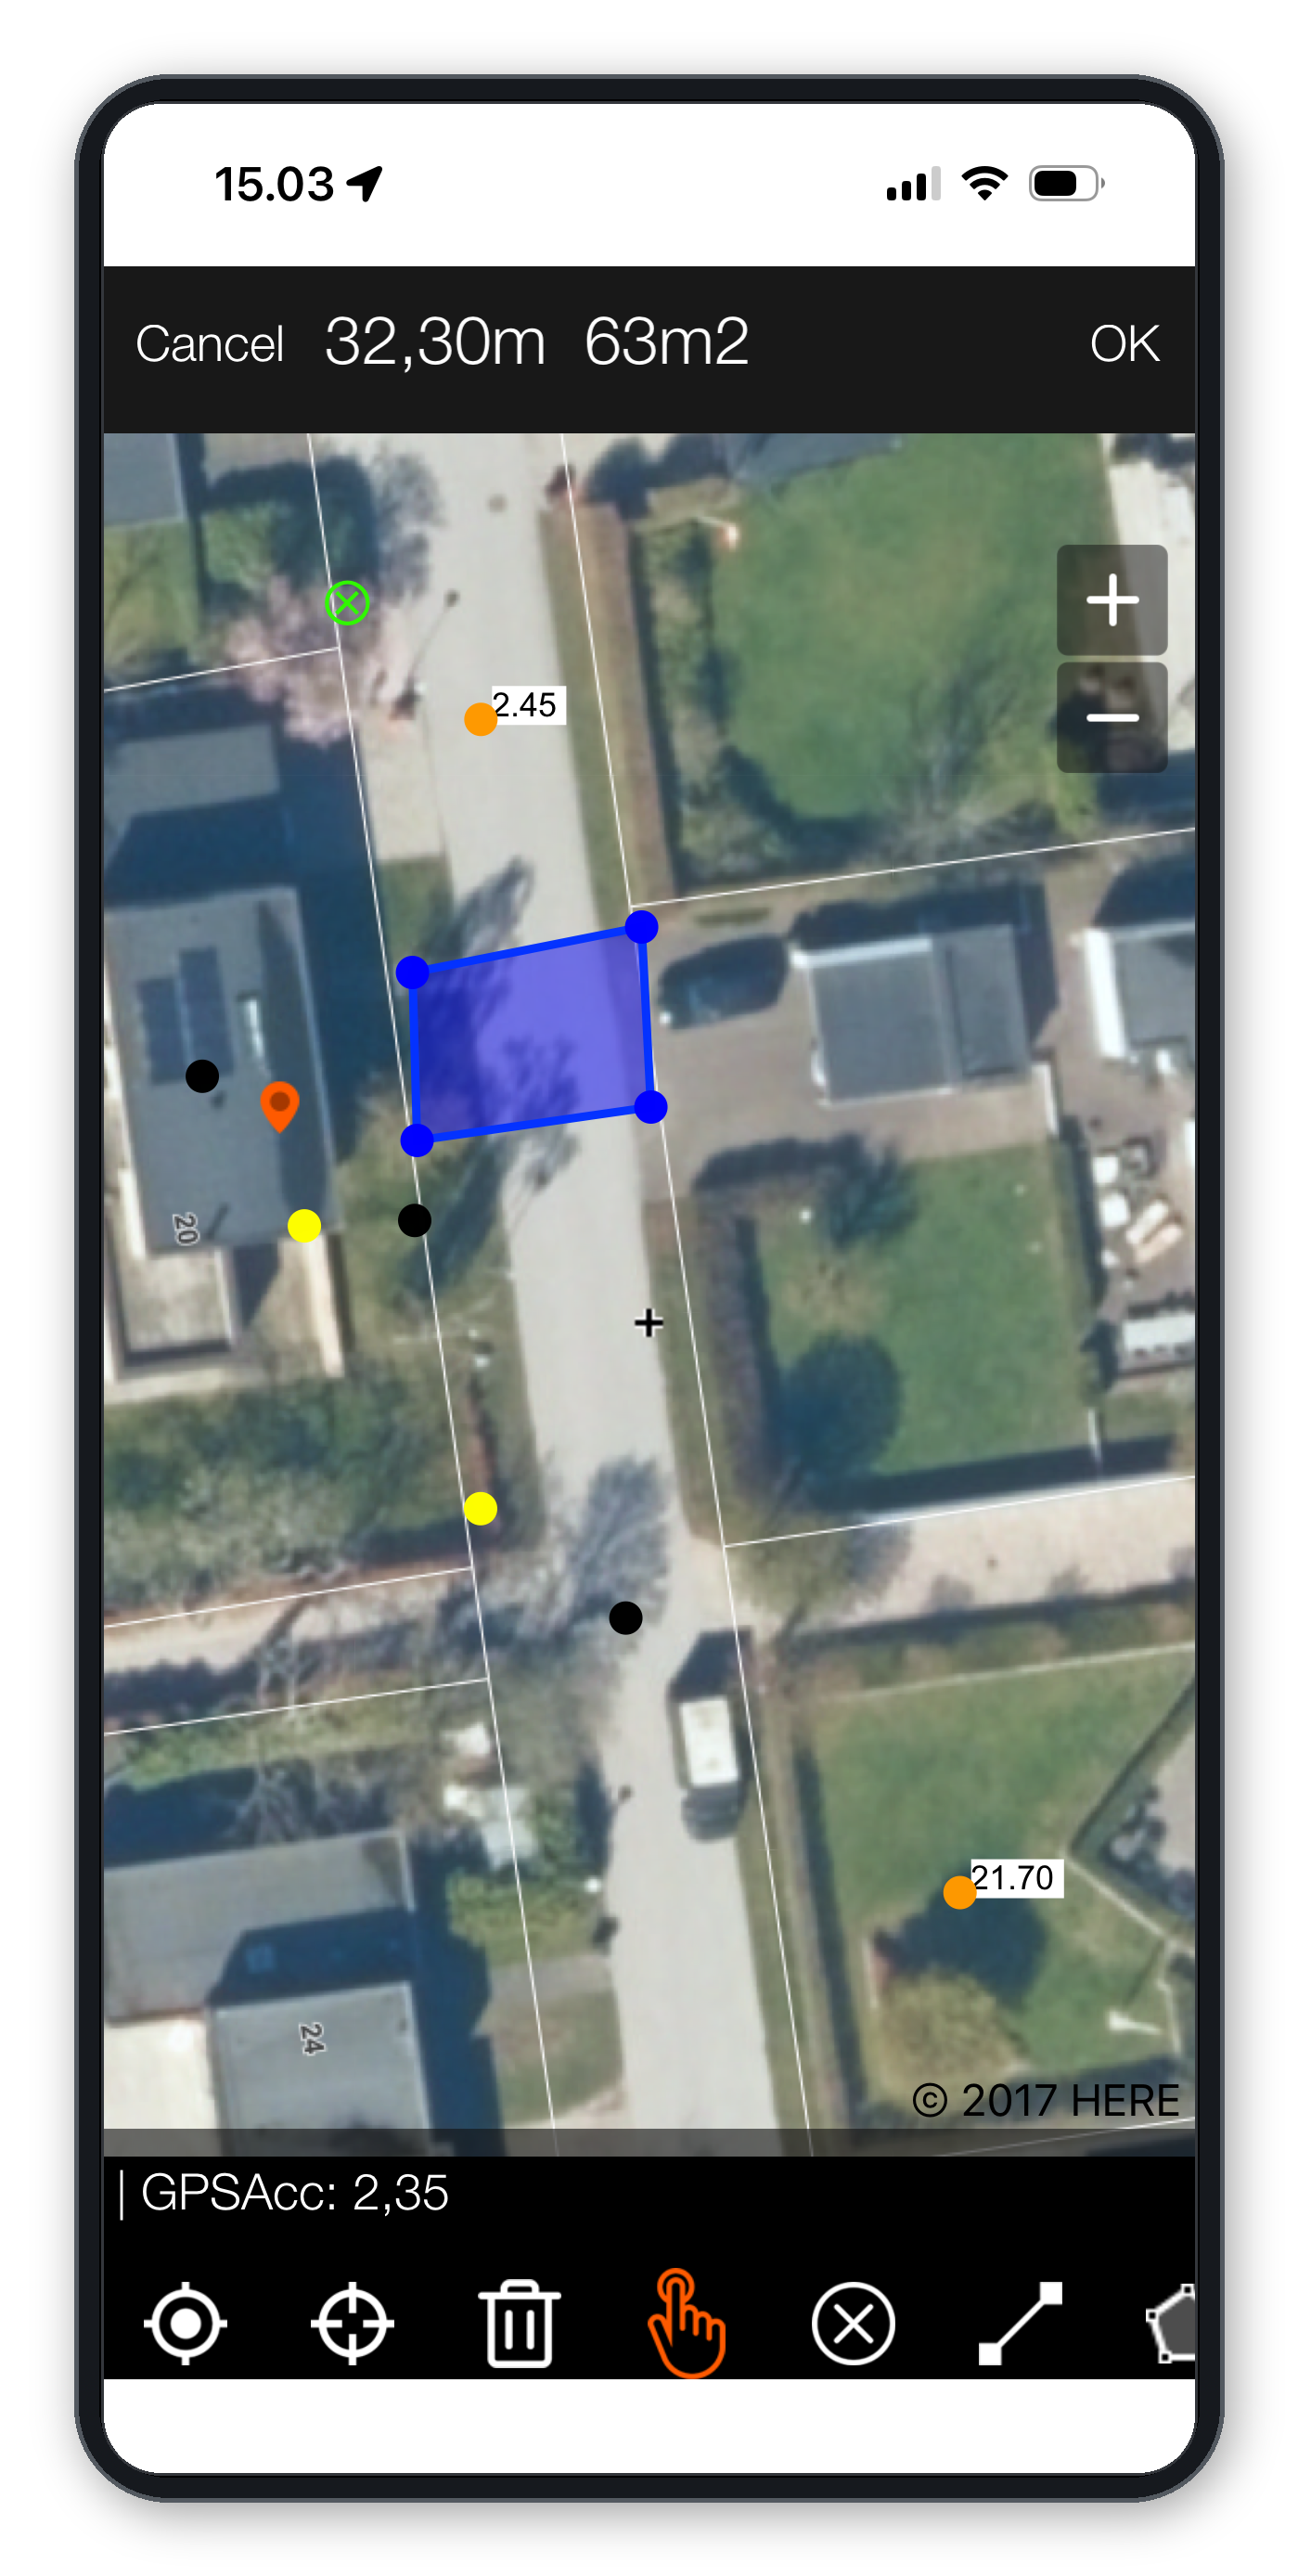
GIS4Mobile supports the registration of points, lines and polygons.
To create a registration:
Select the appropriate data layer.
Open the registration function.
Specify the geographic location or geometry.
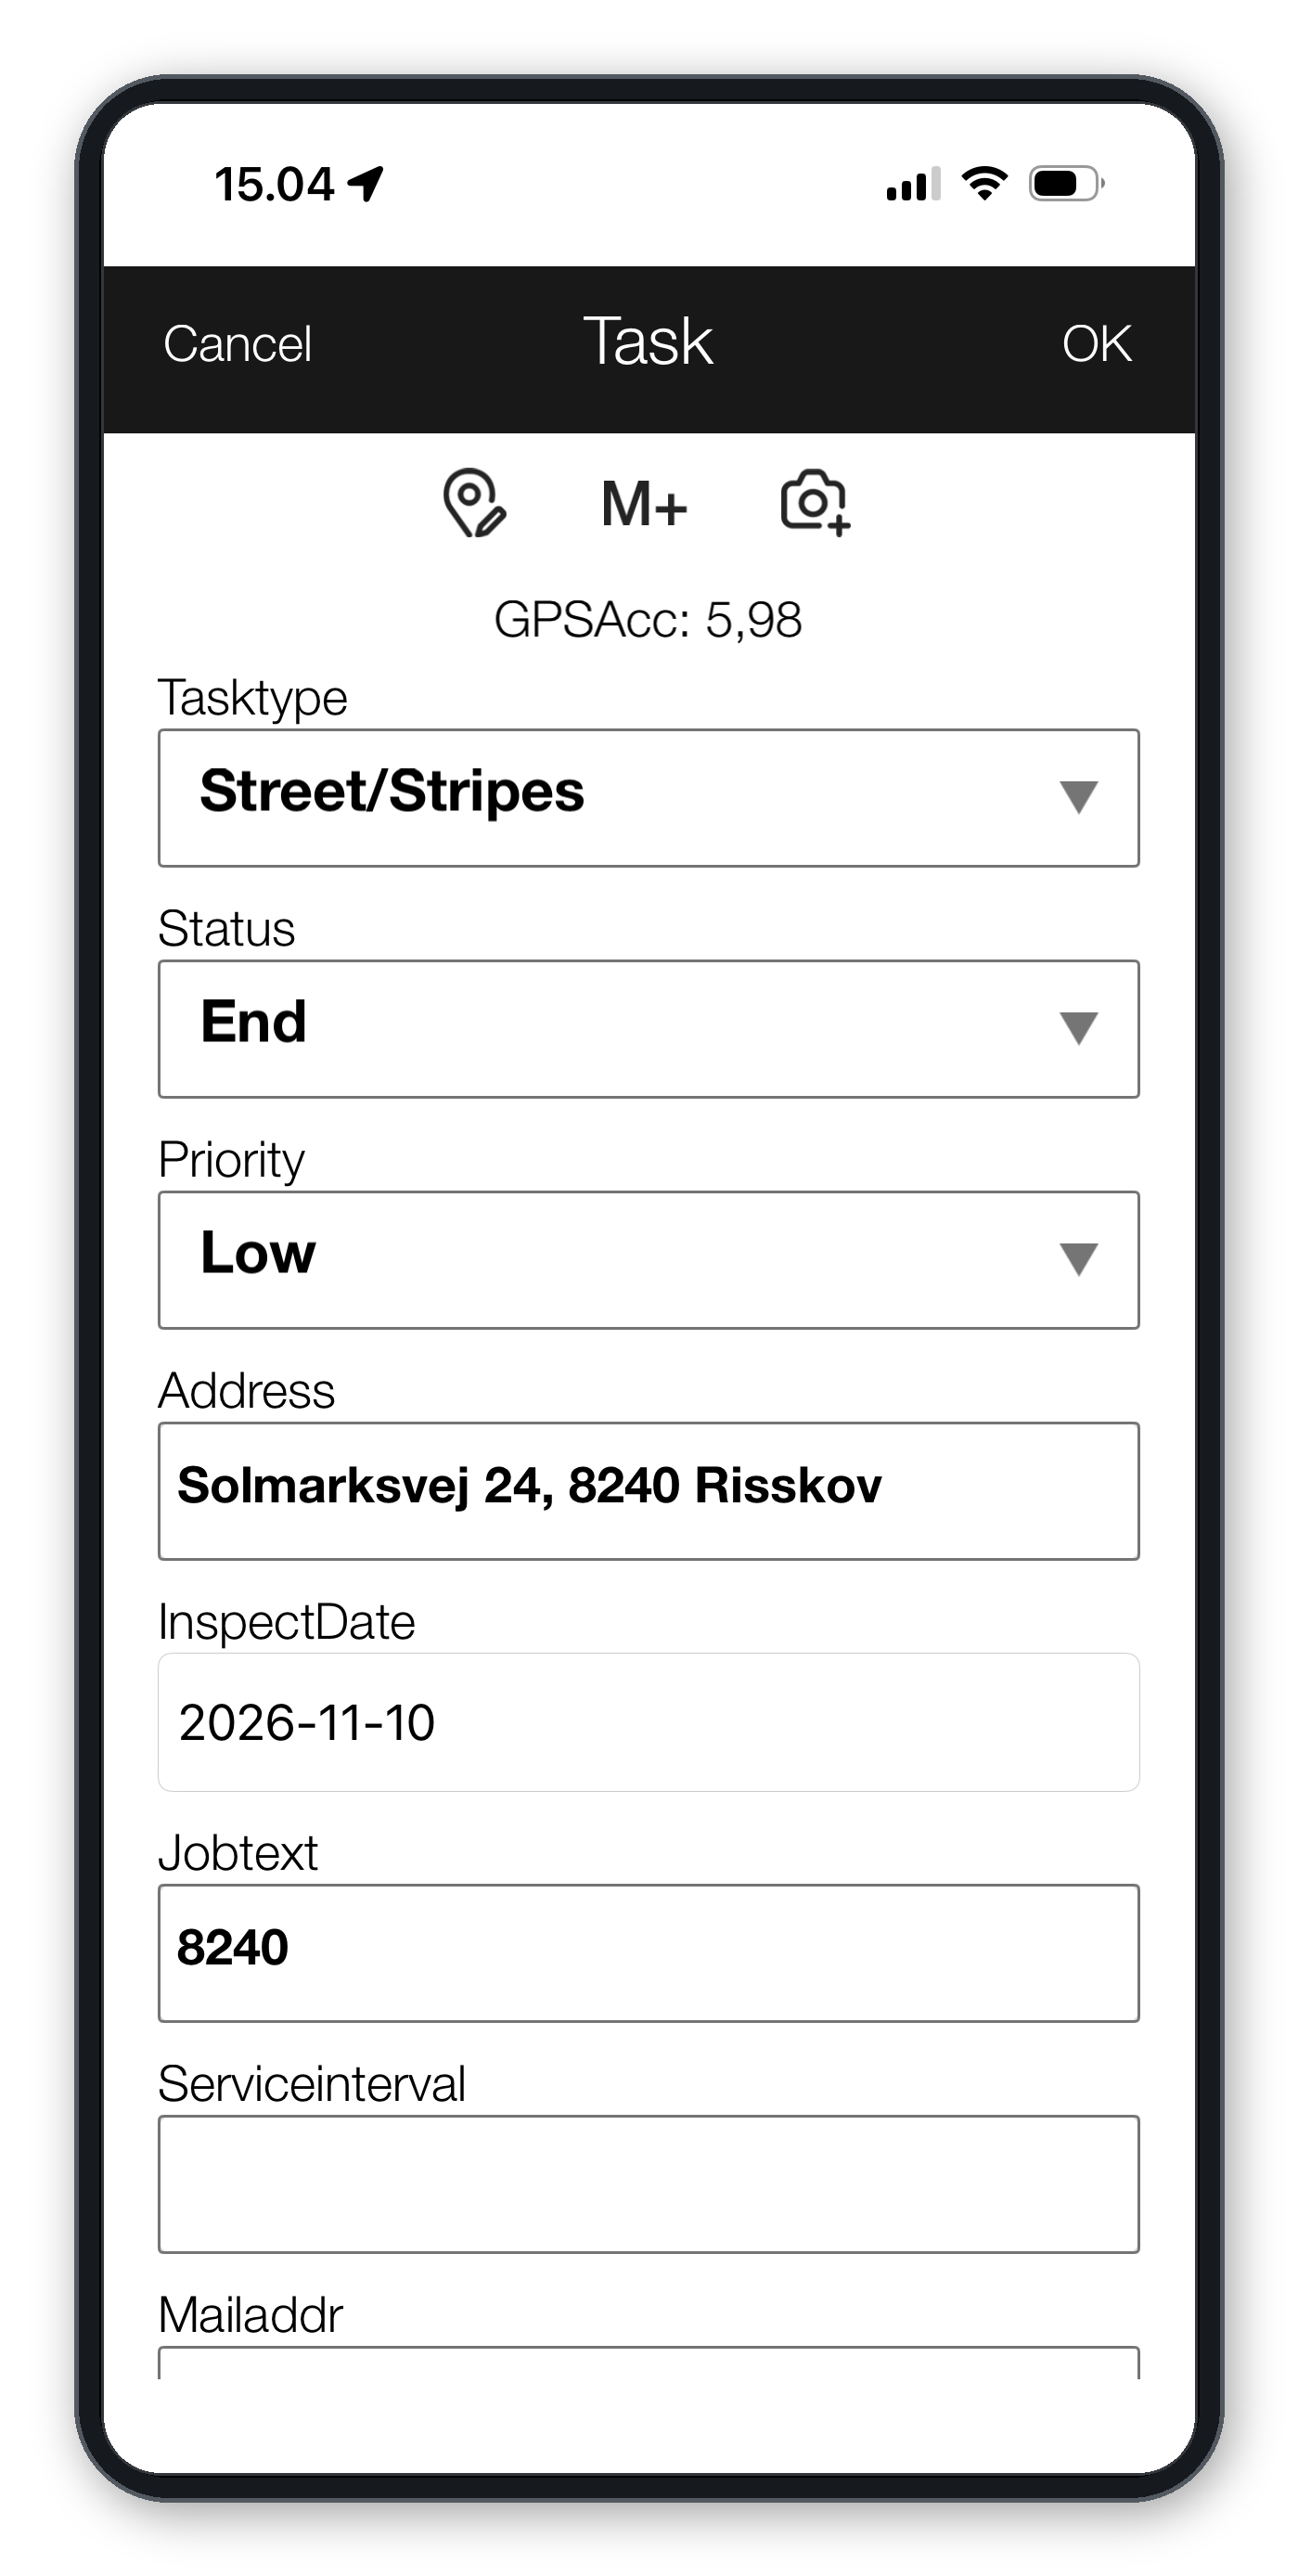
Enter the required attributes in the registration form.
Attach photos if needed.
Save the registration.
The available fields depend on your User Profile.
Registration Forms
Registration forms can contain different types of input fields, including:
Text and numeric fields.
Yes/no selections.
Dropdown lists and dependent selections.
Date selectors.
Multiple-choice fields.
Read-only information and document links.
Photo attachments.
Some fields may be mandatory, depending on the configuration.
Viewing and Editing Data
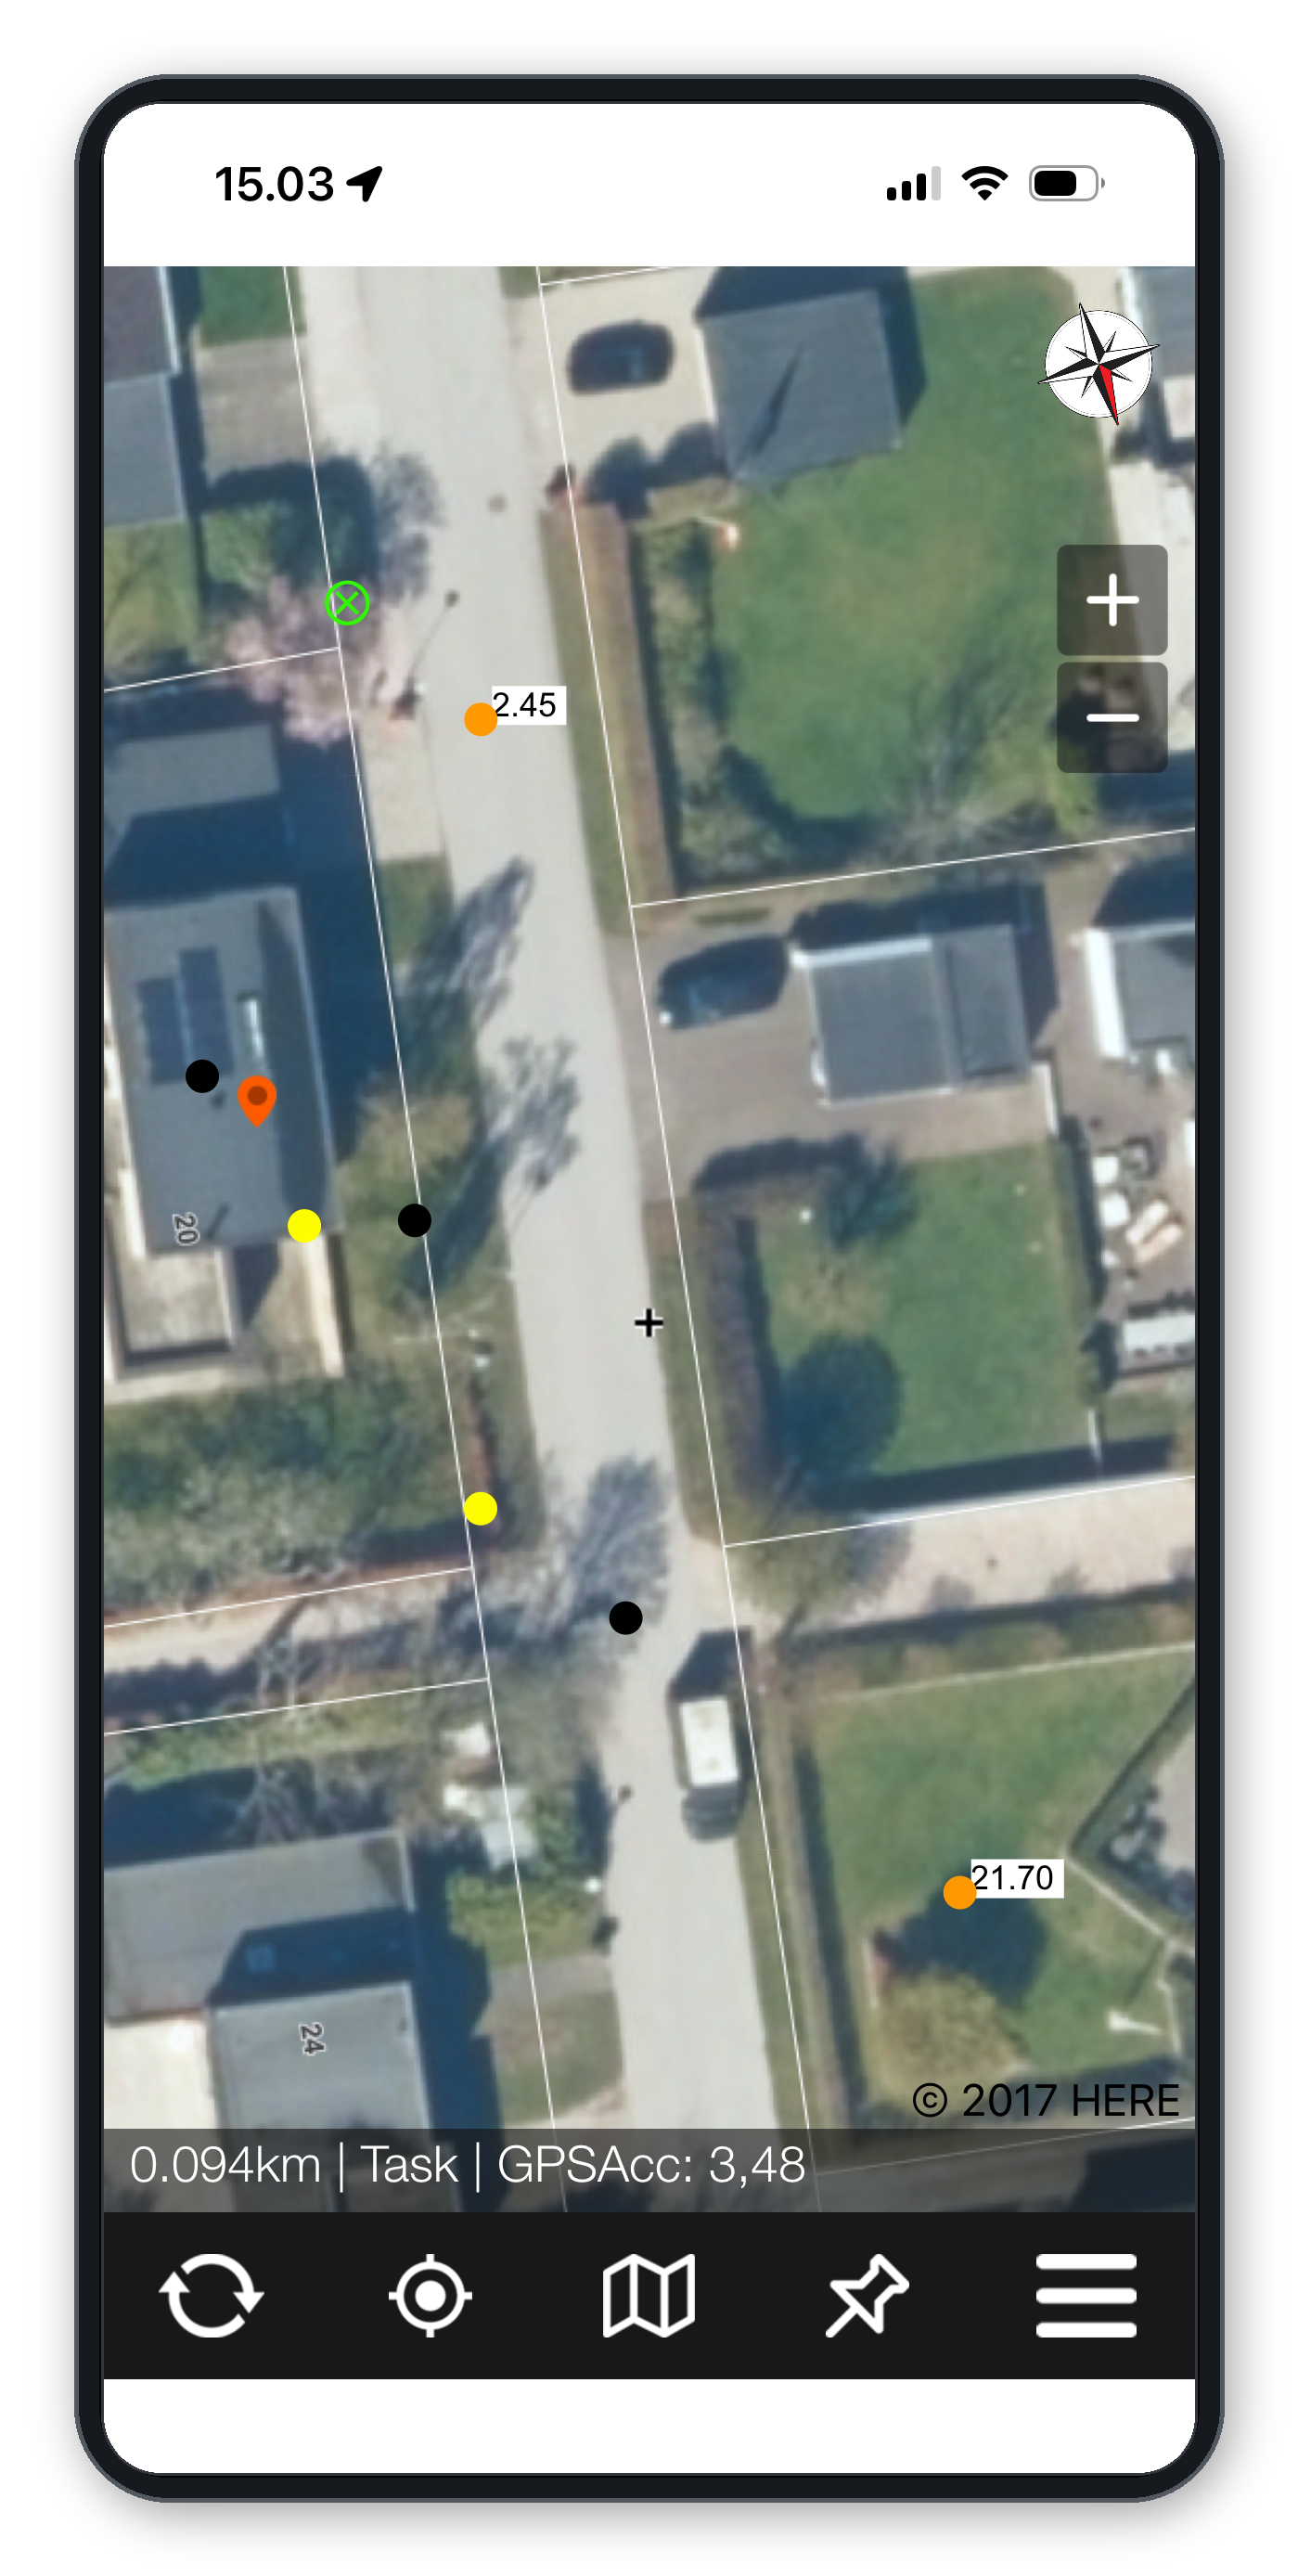
Existing geographic objects can be selected directly on the map.
Depending on your permissions, you can view their attributes, update information, change their geometry or delete registrations.
Objects can be displayed using different colors based on their attributes.
Working Offline
GIS4Mobile can be used without an internet connection.
When connectivity is unavailable, registrations are stored locally on the device and synchronized when a connection becomes available.
Background maps can be prepared in advance using the offline map functionality.
This is useful when working in areas with limited mobile coverage.
Productivity Features
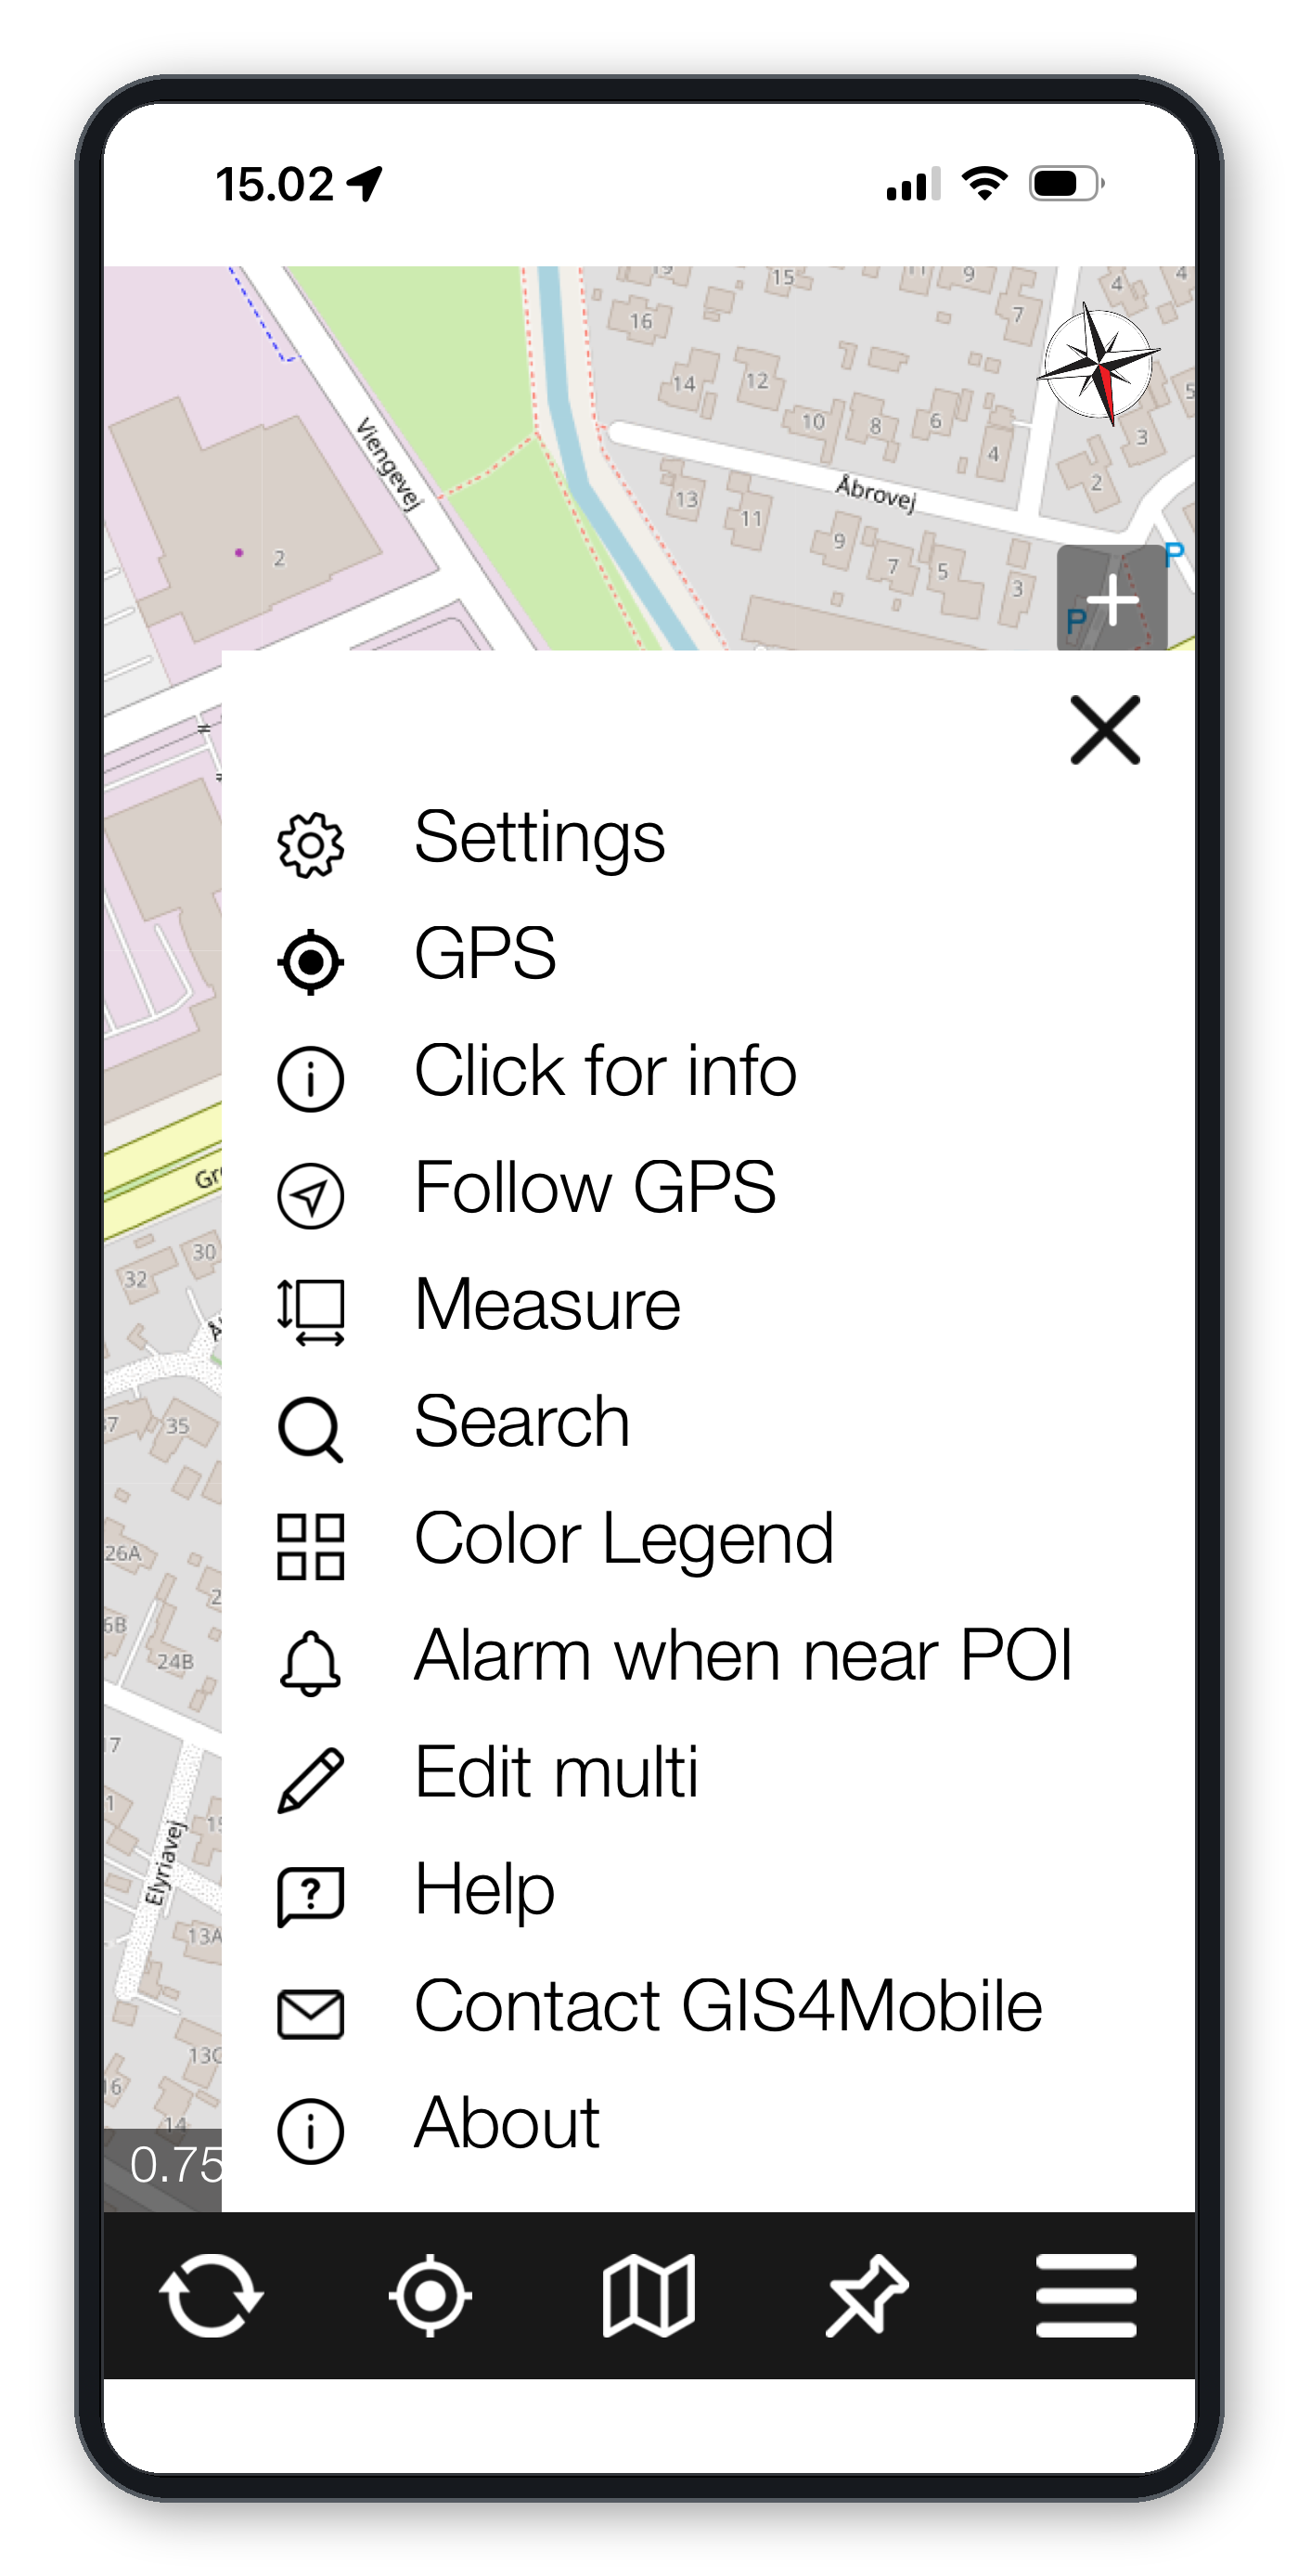
Multi-edit
Select multiple geographic objects and update common attributes in a single operation.
Save and Reuse Attributes
Use the M+ and MR functions to save and retrieve frequently used attribute values.
Repeat Previous Values
Selected fields can be configured to reuse values from the previous registration, reducing repetitive data entry.
Synchronization and Cloud Storage
When an internet connection is available, collected data can be synchronized with GIS4Mobile Cloud.
Authorized users can view, manage and download geographic data through the GIS4Mobile web portal.
Need Help?
If you need assistance with installation, registration forms, maps or synchronization, please contact GIS4Mobile.
Connecting an External GNSS / RTK Receiver
GIS4Mobile supports external GNSS receivers for more accurate geographic data collection.
Using a compatible RTK receiver, such as the ArduSimple RTK Smart Antenna, you can achieve centimeter-level positioning under suitable conditions.
Connecting the Receiver (iPhone, iPad and Android)
Turn on your GNSS receiver.
Open the GIS4Mobile app.
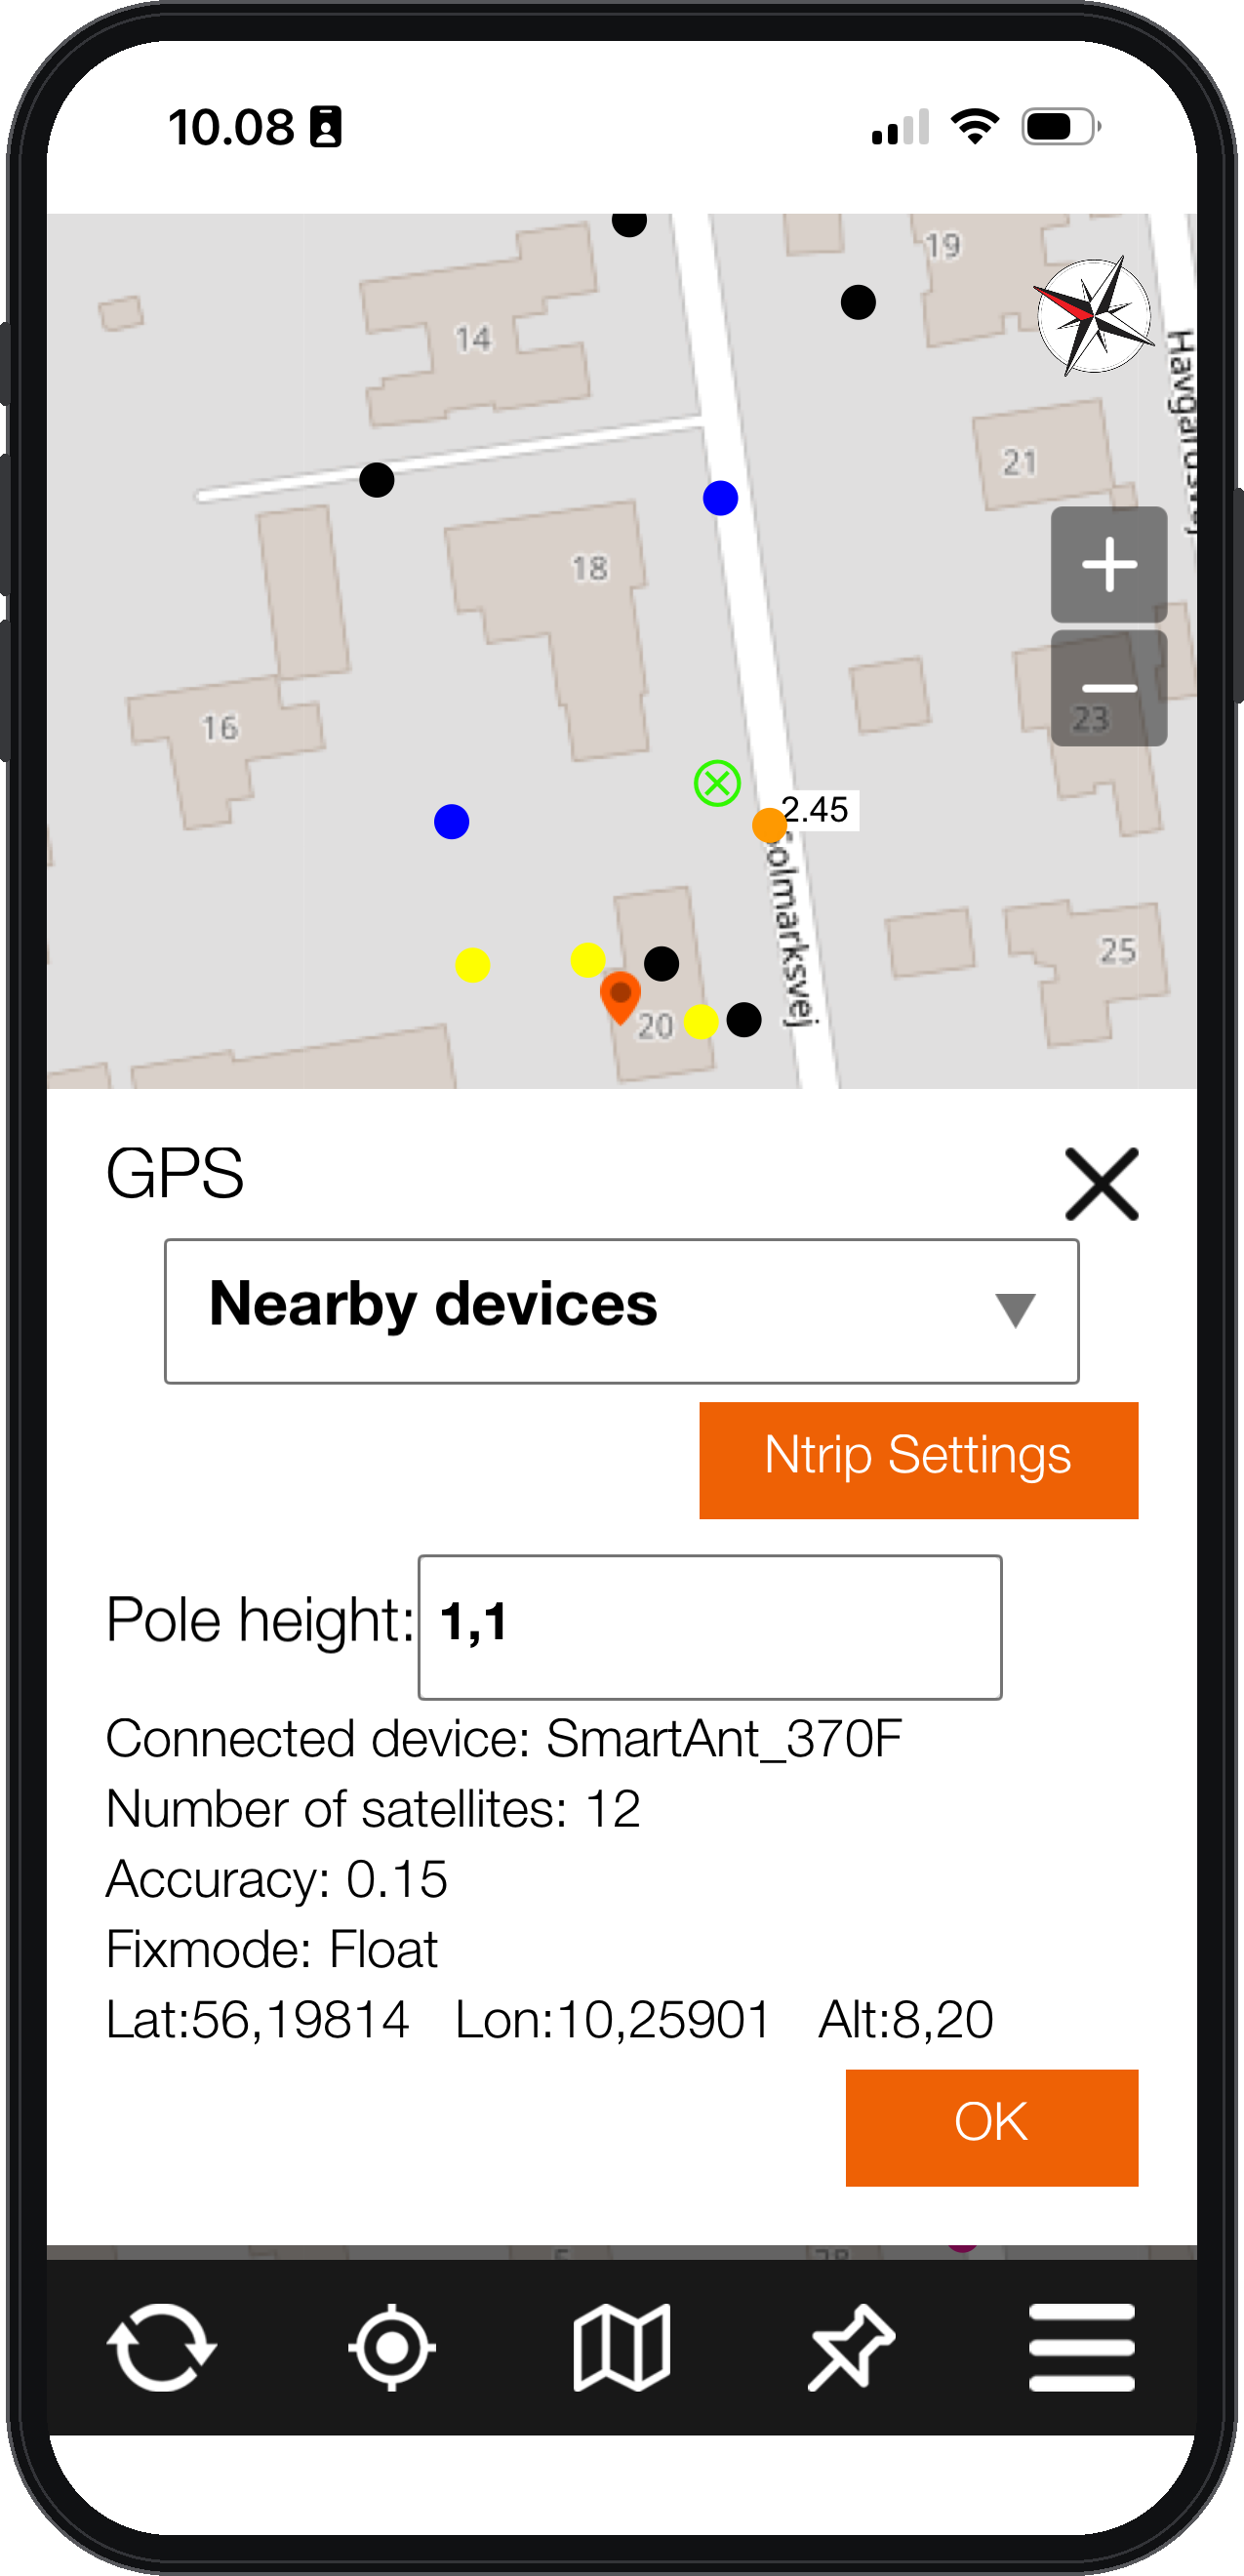
Open the GPS menu.
In the dropdown, select Nearby devices.
Select your receiver.
Enter the Pole height (antenna height above the ground) to get correct altitude values.
The app will now receive positioning information from the external GNSS receiver.
Configuring RTK Corrections (NTRIP)
For centimeter-level accuracy, the GNSS receiver needs RTK correction data.
GIS4Mobile supports NTRIP connections to correction services such as RTKConnect.
Obtain access to an NTRIP correction service.
Open the GPS menu in GIS4Mobile.
Select Ntrip Settings.
Enter the connection details and credentials provided by your NTRIP service.
Tap Save.
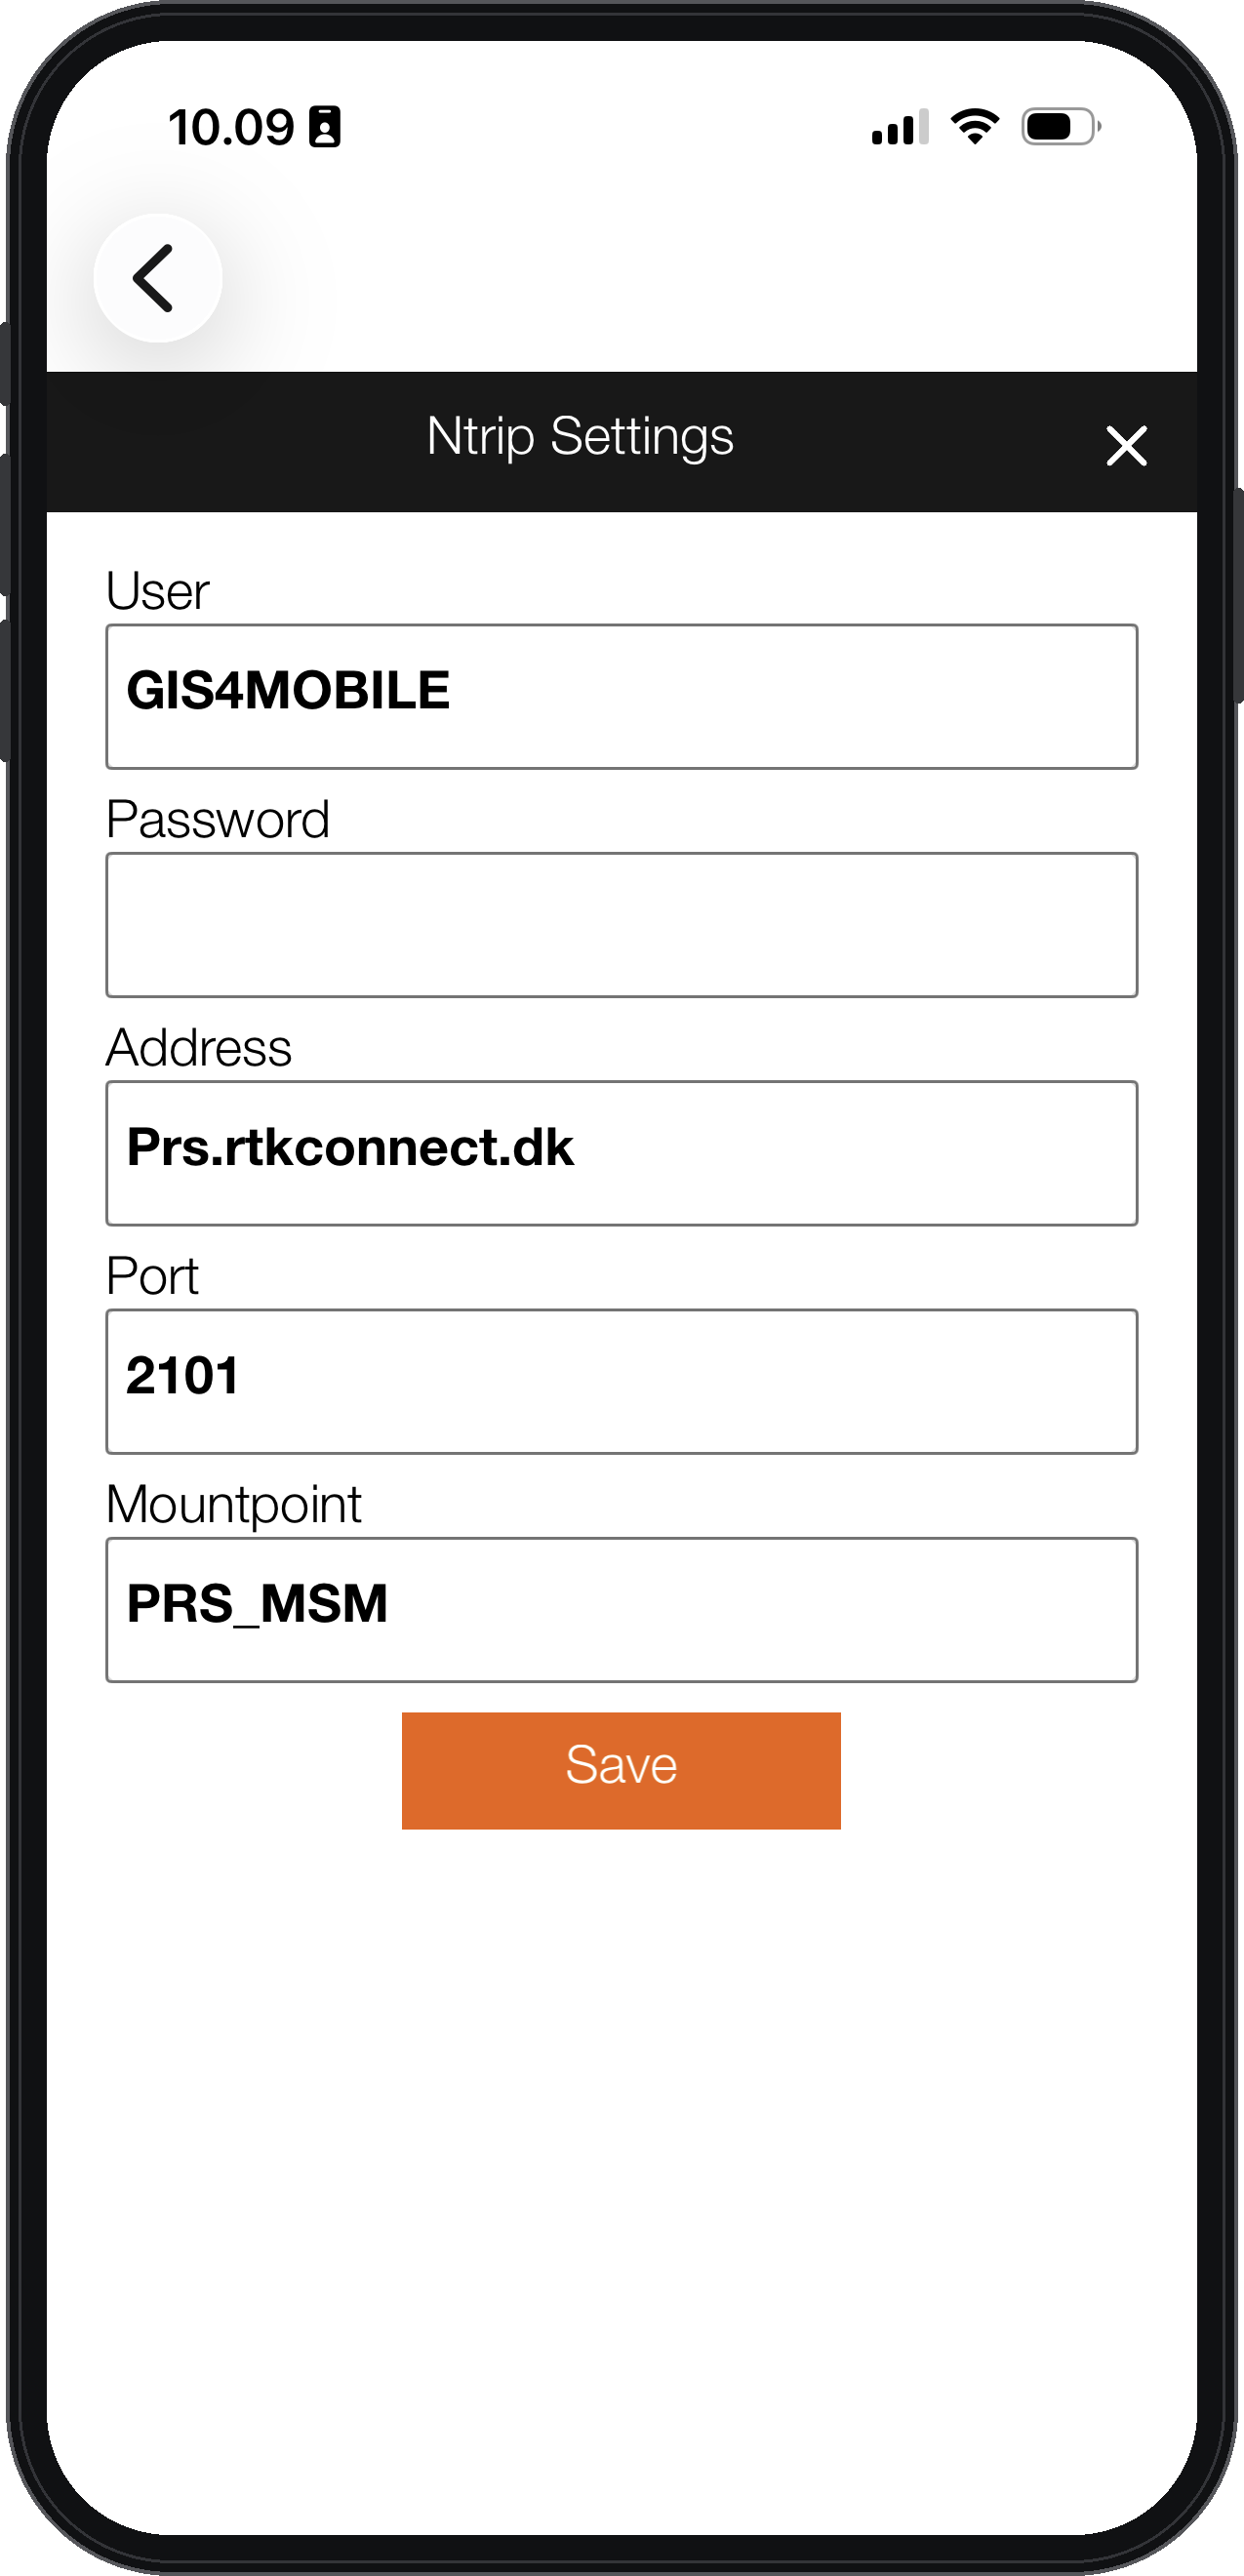
When using an external RTK receiver, the internet connection is provided through your smartphone or tablet. The receiver itself does not have a built-in SIM card.
Checking Positioning Accuracy
The positioning status is displayed in the status bar below the map. More details are available in the GPS menu.
The status information includes:
Accuracy: Reported positioning accuracy.
Satellites: Number of satellites used.
Fixmode: Current positioning solution.
Typical status values include:
DGPS: Differential corrections without RTK, typically sub-meter accuracy.
Float: RTK corrections are being used, but the solution is not fixed.
FIXED: RTK fixed solution, providing the highest precision.
For high-accuracy registrations, wait until the receiver reports FIXED before recording coordinates.
Recommended receiver: ArduSimple RTK Smart Antenna
We recommend the ArduSimple RTK Smart Antenna – a compact and rugged RTK receiver that works with GIS4Mobile on both Android and iOS via Bluetooth.
For RTK corrections in Denmark we recommend RTKconnect.